DIY wall texture painting ideas + Videos
As one of the essential factors in creating space in interior architecture, wall texture are also responsible for the most dramatic space burden. Perhaps when we think walls have minor decorative finishes, their importance is undeniable as a powerful and crucial backdrop for DIY wall decor.
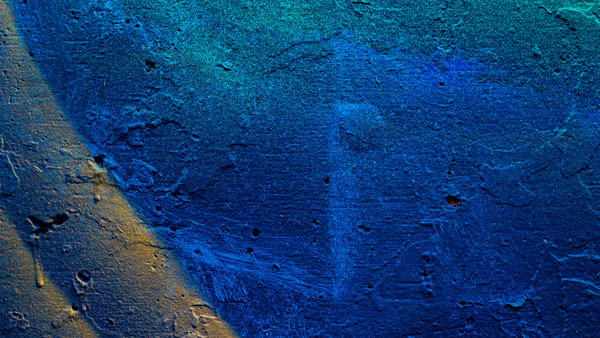
One of the methods used in designing interior walls to harmonize with space’s decoration and interior architecture is to use different wall texture and knockdown texture as space fillers. Textures are created through natural materials, new colors and materials, and even arts such as home mosaics, which give people a different feeling from softness to roughness.
For this reason, the wall texture is called space-filling that wherever it is used, it causes congestion and emphasis in that part and gives a specific variety to space. The critical point is how to use different textures in different rooms. In this article of DIY724, we will use different wall texture paint on the wall and learn DIY wall texture.
What is the solution to change the uniformity of the bedroom space?
Without a doubt, the solution to this problem is to change the decoration of the bedroom. It is unnecessary to spend a lot of money changing the decoration and buying new accessories for your bedroom again.
One of the most modern ways to change the decoration of a bedroom is to change the wall’s texture. The art of changing the wall texture is trendy.
Application of wall texture (textured wall paint)
One of the most exciting techniques in changing the decoration is the use of texture on the wall. The wall texture significantly impacts the house’s appearance and is an excellent place to do different designs.
For years, boards and wall sconces have been used to decorate walls. Although these decorations create a remarkable beauty and effect on the wall, they will also damage it.
Over time, the walls are damaged and sometimes crack. Fix possible wall defects by changing the wall texture The use of texture on the wall, and the appearance of beauty helps eliminate potential flaws in the wall. Painting the wall can also make a dramatic difference in the decoration.
DIY wall texture (What are different types of wall texture?)
In the following, you will see 2 tutorial videos of different types of wall texture.
In this video on Your New House, we see 7 options for How to texture a wall. Whether you’re building a new home or remodeling an older home, one of the many decisions you have to make is what kind of texture you want to put on the walls. in the following we explain more about these 7 options.
In this video of Kotresh Koti, we learn 6 new updated texture wall painting techniques.
How do you texture a wall?
Texturing is really easy and there are several different choices to create the look you want. here we explain 7 ways for texturing a wall.
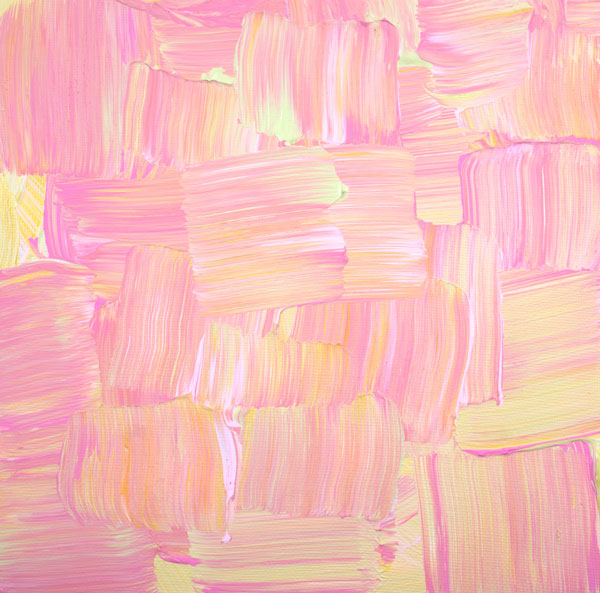
1.Sand Texture
As the name implies, this mix comes with sand mixed in to create this texture. Put it in a paint roller pan and then use a roller to apply it. If you want your surface to be a little more delicate, add some water to the mix. This method of wall texture, is going to give your walls a smooth, subtle texture.
Because of the sand, the surface is raised from the wall giving you a slightly three-dimensional look. After this dries, you can paint it any color you want.
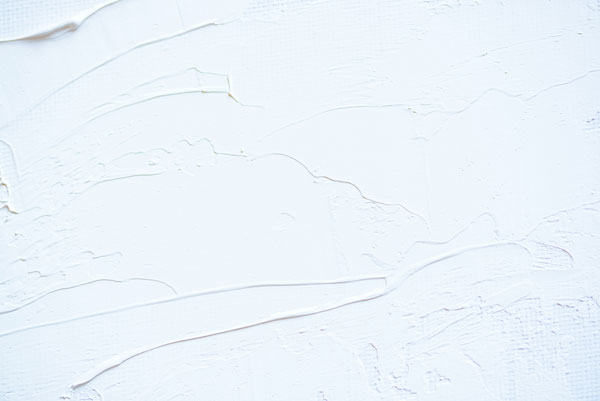
2.Smooth Texture
Again, pour out a little bit of the texture into a paint roller pan and use a roller to apply it to the wall. The difference between this and sand texture is we’re going to use a coarse napped roller to apply this texture to the wall. This of wall texture, method is going to give us a different look.
Cover the wall entirely with the texture. Then come back with the roller, and here’s where you can get creative. If you push down hard on the roller, you can get a smooth look. Or, if you lightly drag the roller across this texture, the coarse nap of the roller pulls it up off the wall a little bit, and you get a different look.
3.Rough Texture
Again, use a coarse napped roller to apply this texture. And it, like the others, comes pre-mixed. Coat the roller as you apply this to the wall and cover the entire surface. Then take the roller and lightly pull it across the texture to pull it off the wall and create a rough finish.
This method of wall texture, gives you a deeper, more scattered textured look. However, it’s going to be kind of sharp after it dries. This method is not a good texture to put in a child’s bedroom or playroom because brushing up against it could scratch the baby’s soft skin.
4.Sponge Stippling Texture
In wall texture, You can use a smooth texture mix for this application, but since using a sponge, add some water to the texture to make it more workable. Put some smooth texture in a roller pan, then use a sponge to apply the surface to the wall. Depending on what type of sponge you use, you can create all sorts of patterns.
The sponge creates the stippling or puckered pattern on the wall. And the great thing about this is that if you don’t like the way, you can change sponges or twist and drag the sponge to create your custom look.
5. Crow’s Foot
This pattern is created by buying the crow’s foot applicator. It looks like a dust mop. Once again, use smooth texture for this application. Dip the crow’s foot applicator into the soft texture and then apply it to the wall. Just keep rotating the applicator around and push against the wall as you go to get the look you want. Once you paint it, the texture pops!
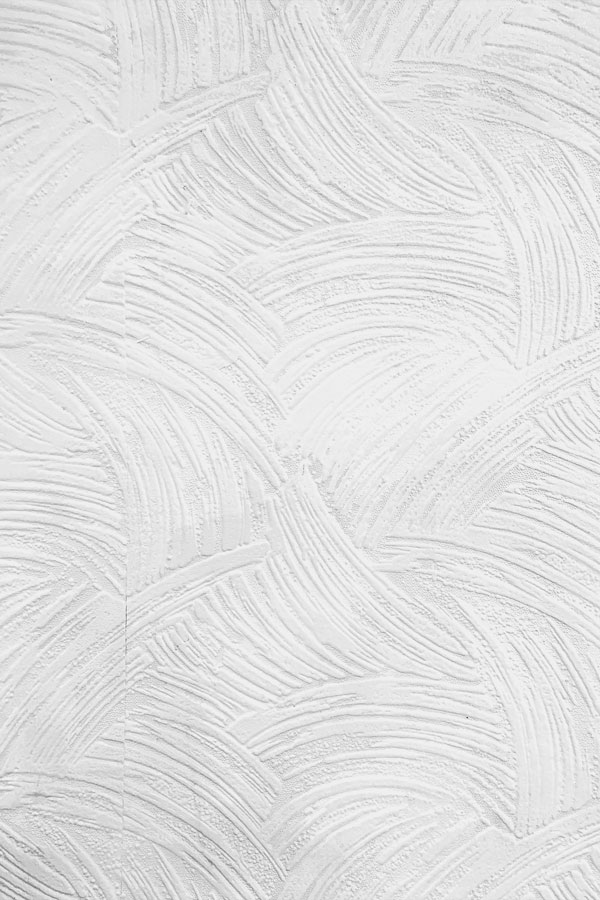
6.Monterrey Texture
Again, use smooth texture and a 6″ drywall blade. You can also use a wider blade if you want. It just depends on your sense of style and what you’re trying to create. Take the edge and scoop up some texture and apply it to the wall. You want the surface used to be thick but not rough.
Apply it to the wall in short strokes. As you do, you’ll see little ridges pop up. This method of wall texture paint, creates the relief you want on the wall and will give the wall its excellent texture. Once it dries, add some paint, some stain, and then coat the wall with a finishing glaze, and it gives you a costly textured look.
7.Knock Down
To apply this texture, you need a hopper gun, an air compressor which you can rent from a tool outlet or home center. Once again, use a smooth surface, but you’ll need to add quite a bit of water to thin it out enough so you can spray it through the hopper.
Turn on the compressor, pull the trigger on the hopper gun. And the texture is squirted or splattered on the wall. The technique of applying this texture is called “splatter drag.” Why? First, you splash it on the wall, holding the hopper gun 18″-24″ away from the wall. Then you let it dry for 15-20 minutes, come back with a plastic blade, and drag it over the texture. This method is called the “knockdown.”
Easy wall texture techniques (knockdown texture)
We teach some simple wall texture techniques on the wall for those interested in changing the wall’s texture.
1.How to texture a wall with a sponge

- First, paint the wall with the desired color.
- At this stage, a solid color usually uses.
- Use a contrasting color to create the design.
- After the wall dries, you can start designing.
- Get help from a piece of sponge here.
- Dip the sponge in the desired color, contrast with the background, and apply the extra paint with newspaper.
- Then transfer your design by tapping on the wall.
- You can execute and implement the most beautiful creative techniques on the wall with a bit of practice.
2.wall texture painting technique
- First, you have to paint the wall entirely.
- It is better to use a color that is thinner than usual.
- Before the wall dries, crumple a lint-free cotton cloth and hit the wall. There is no need to pull and tap.
- The result is a stimulating effect of the paint being erased and crumpled instead of leaving the fabric.
- In the painting technique, the speed of action is essential and critical, and you must remove excess paint before the paint dries.
Note: Dipping the cloth in an oily thinner will help.
3.Teach wall texturing technique with fabric
- Make a rectangular lint-free cloth measuring 15 by 20 cm.
- Twist the two ends of the fabric and pipe.
- Dip this fabric tube into the desired and contrasting background color.
- Then, pull the fabric across the wall.
- The method of pulling the fabric on the wall is similar to rolling dough.
- Creating patina texture on the wall To have consistency and shape the surface on the wall, you can use a combination of fiber oil, powder, oil paint, and water.
- Make this mixture so that the dough is the concentration of yogurt.
- Use this combination to create texture on the wall to see art and creativity together for wall texture.
4.Wall corrugate Technique
One of the most innovative and popular wall texture designs is the corrugated wall technique. That is quickly done.
- Find the wall’s center point and divide the wall into equal strips from the centerline.
- Paint one of the stripes.
- Carefully paint the unpainted parts with contrasting colors.
- Should not enter The color in the previous sections.
- The Corrugated wall technique is unsuitable for the whole bedroom and is mainly used as a single wall.
- Color matching is essential in this technique for wall texture.
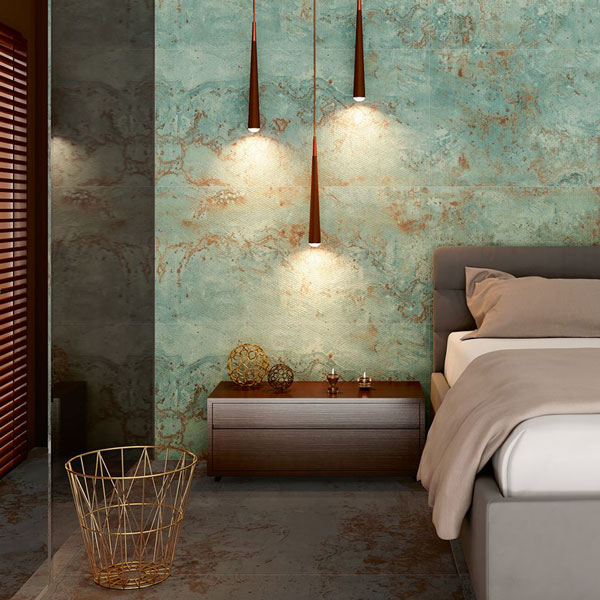
Lighting on the texture
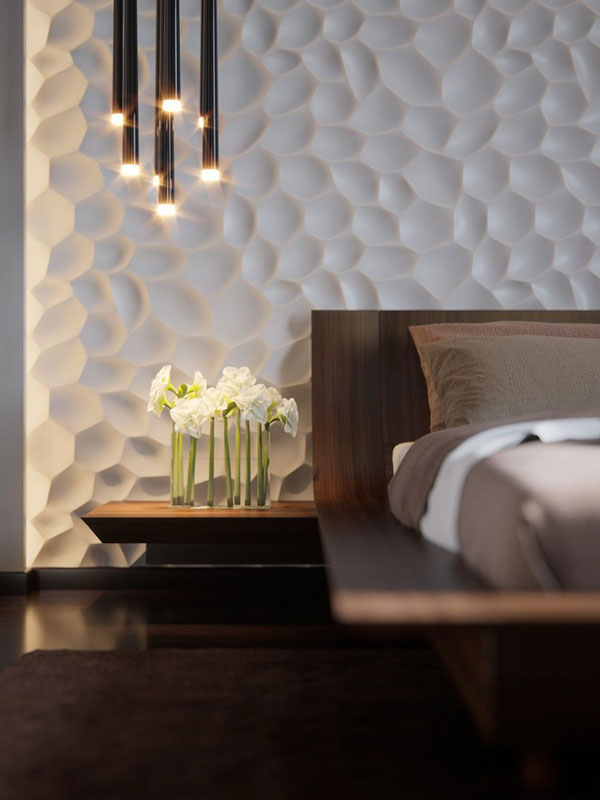
Lighting on the texture is as important as its application and is not separate from the texture application process. Be sure to use halogen spotlights or a moving arm to adjust the light in a specific direction above or in front of the wall you have textured because proper lighting exposes the dimples and bumps of the wall texture.
When lighting the wall from one side, try not illuminate the opposite side to neutralize the effect. For more giant walls, it is best to use multiple lights along with each other or at equal distances.
Different types of wall textures (texture paint design)
The vital thing to note is to match the type of texture with the size and area of the interior walls. Main walls, hallway walls, fireplaces, even parts of the small-scale door and window frames are texture surfaces.
1.Stone texture
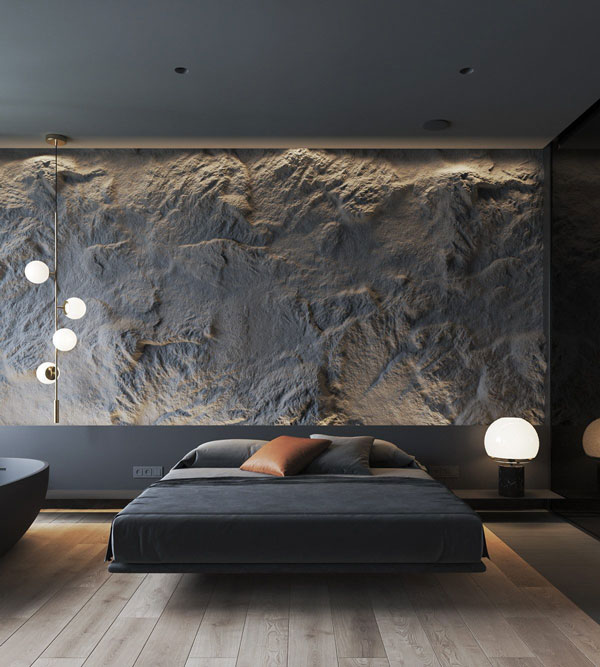
The texture of the stone creates a certain feeling of hardness and roughness, and the larger the wall texture, the more space fill, and the more exaggerated the variety becomes. Stone texture can start from polished ceramic or marble to gravel and antique stones with very rough surfaces.
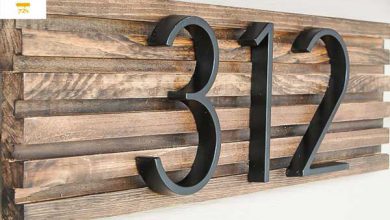
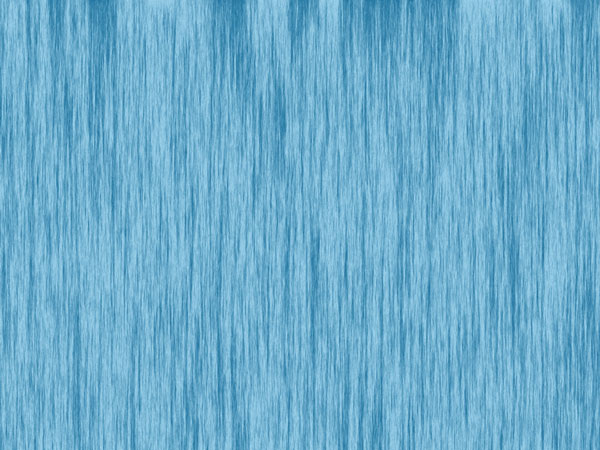
2.Wooden texture
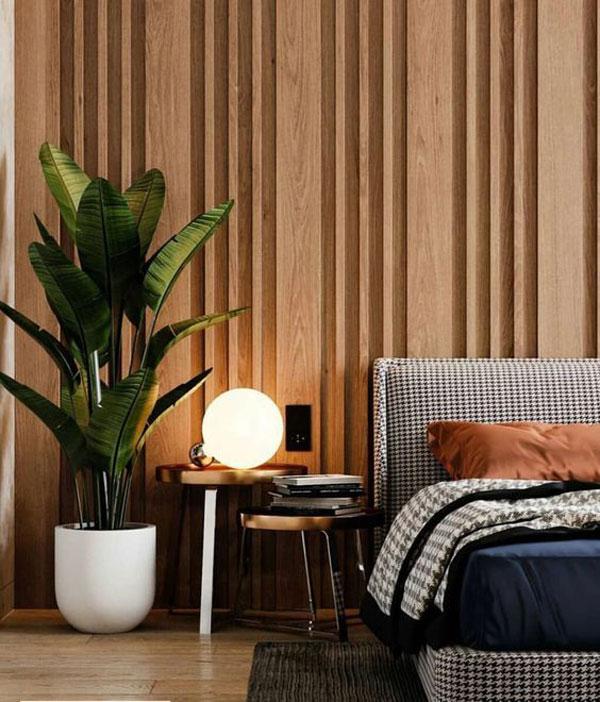
Artificial prefabricated models of these materials with very close to natural effects and textures are available in the market, or you can make beautiful textures yourself with pieces of wood. The advantage of these panels is their lightness and ease of execution if you want to create variety on your fireplace, pillar, or index wall.
Of course, when using this type of wall texture, keep in mind that the color and amount of opacity, the amount of texture created, and the surface area are crucial.
3.Tessellation
Tiling and using small and large ceramics are other ways to create wall texture. Apart from textures made from natural materials, such textures also display a unique role and color.
For mosaic work, cover the wall’s surface with mortar, cement, or concrete glue, and in lighter cases, wallpaper glue, stick the ceramics on it with the desired design and fill it with grout between the joints draw on it with a napkin.
4.Antique stones
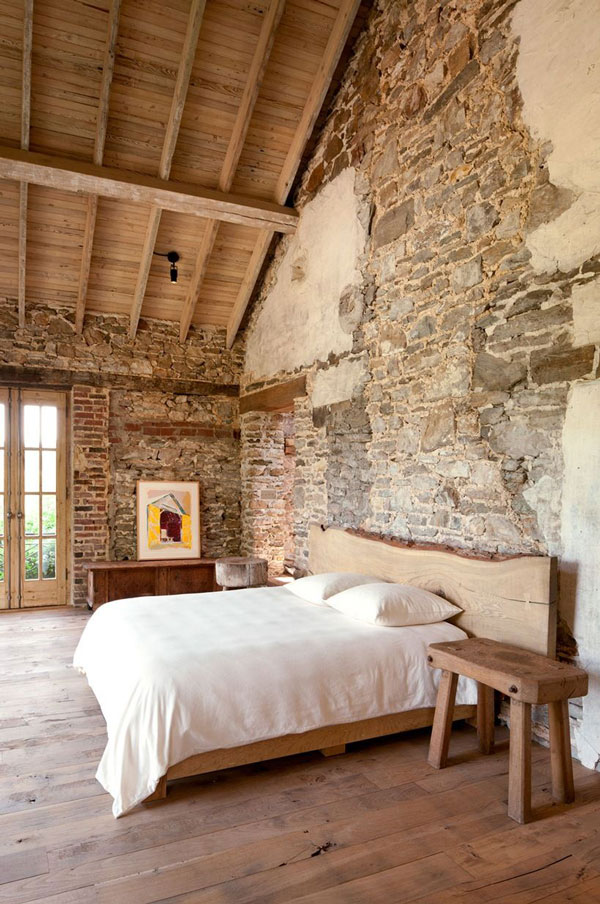
More special natural materials such as travertine stones, called antiques, are another option for wall design. You can call These stones antique because their unpolished color and appearance give them an old look, and in some cases, after the installation of these stones, other refunds are made in the closure and entrance of the rocks, which again also show older.
Antique stones create an imposing effect in the interior and establish a living and practical relationship between tradition and modernity. Combining these stones with other materials such as wood, cement, glass, and the like can produce more beautiful results. Antique rocks come in different geometric shapes with different sizes that are very resistant and have the necessary stability against moisture, cold and hot can use both indoors and outdoors.
5.Natural materials
Simple and accessible natural materials such as shards or tiles, ceramics, or stained glass are other things that a tasteful amateur can easily apply on the wall. Such natural materials as gravel can place in a cement or concrete adhesive bed drawn on the wall, with different designs.
The stones are light and stick to the cement and concrete adhesive, creating a varied appearance. Finally, a spray can be used on the rocks for a final finish and create a shiny effect. The arrangement of stones on the wall can be irregular, regular and dense, linear, frames or frames, bands or shapes such as rhombuses, circles, etc.
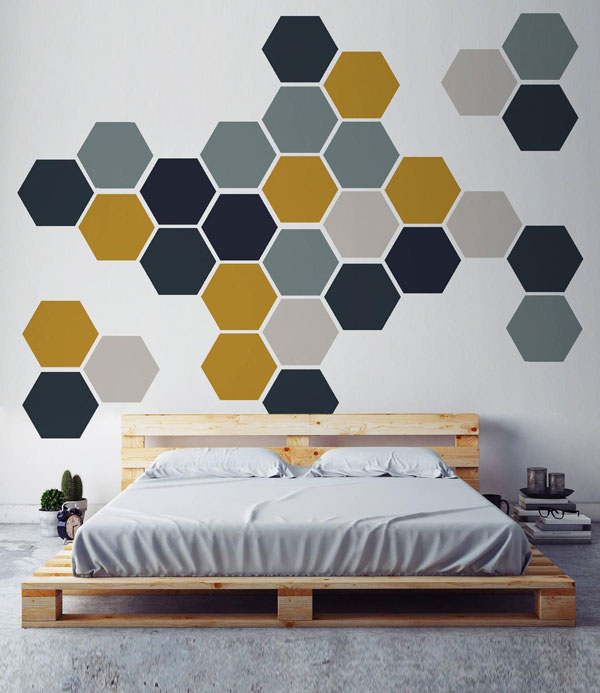
6.Fancy colors
In addition to these materials, fancy colors and dough with grains of sand or pieces of colored materials with different shapes and designs create beautiful designs on the wall. If you have an excellent taste teenager, you can ask them to decorate the walls of their room using this type of equipment.
7.Apart from the mentioned items, we can also say yarns, hemp strings of nylon materials, beads and buttons, fabric, cardboard, and even thatch to create wall texture.
The most crucial advantage you can consider for wall texture paint is the durability, reasonable price, and economic efficiency of this coating. Because the material used and its execution is effective, it can complete many popular designs managed by wallpaper at a lower cost and with the same quality using the patina technique. At the same time, the work gives spirit and freshness to your space.