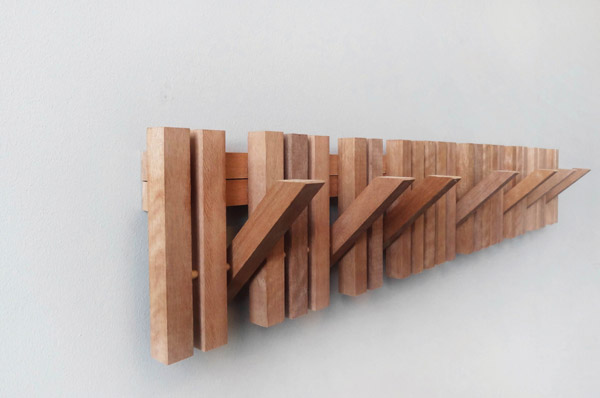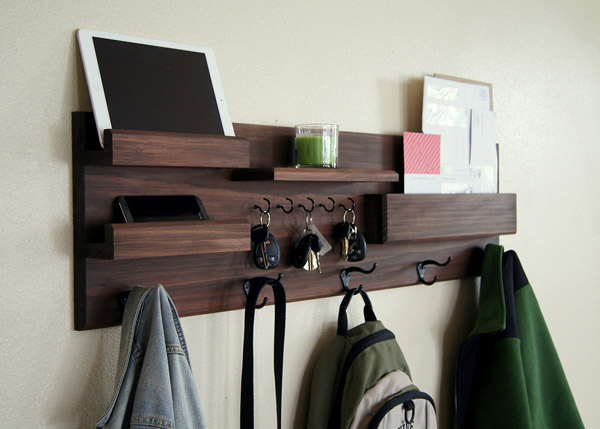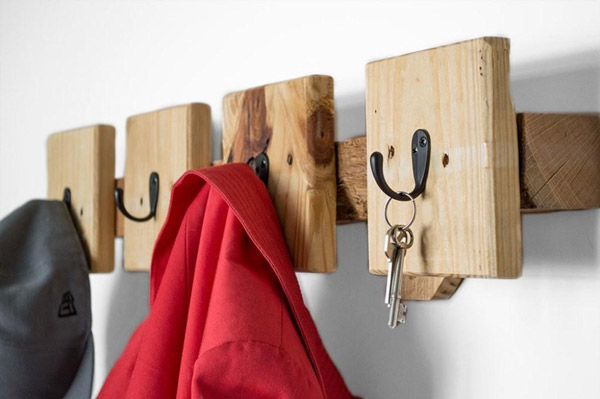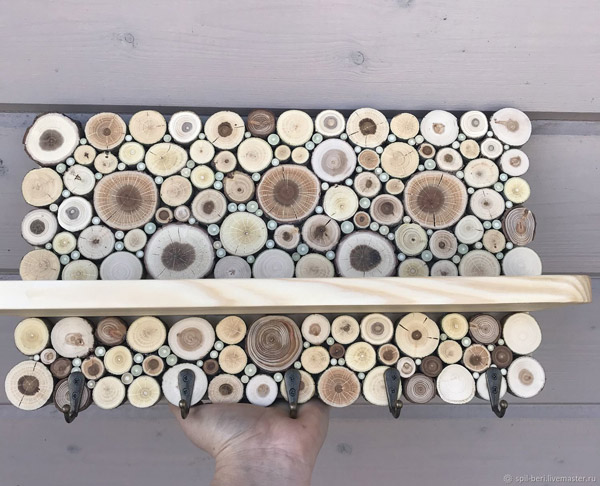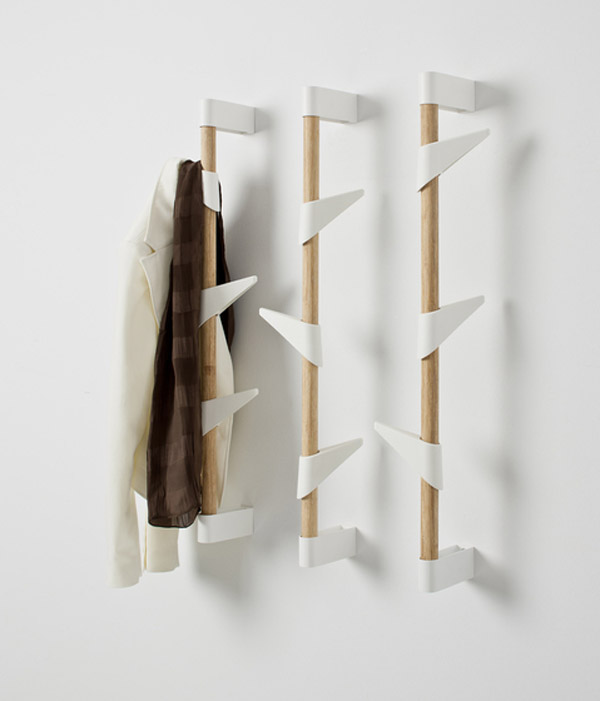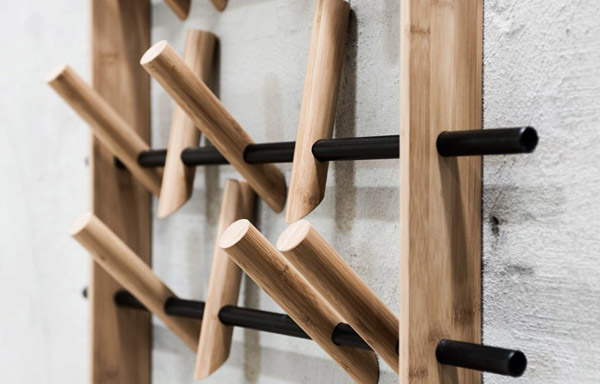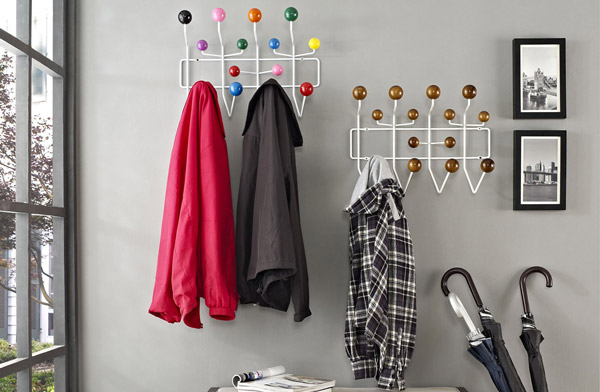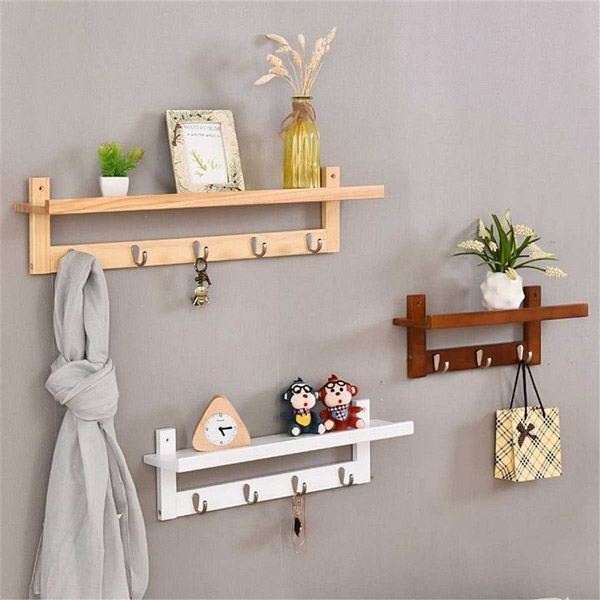
Fortunately, the variety in life today is such that it encompasses many home decorations and provides a beautiful environment for you. In this article of DIY724, we have presented a diy coat rack model with a different and stylish design.
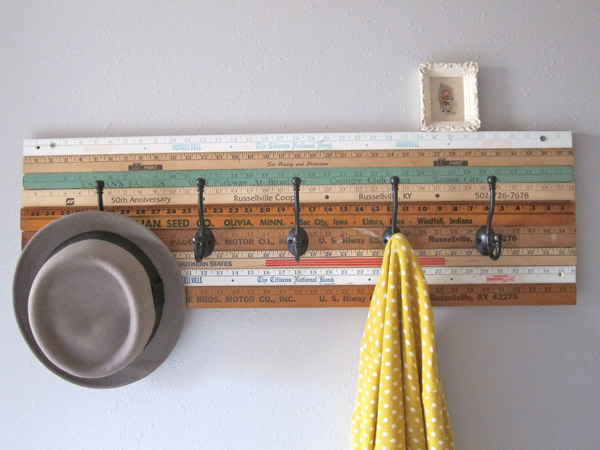
You will need a hanger to store your belongings, bags, umbrellas, and more. There are several examples of diy coat rack design. The wall hanger model is considered more because of its density than other hangers. Usually, diy clothes rack models use other items in wall designs and turn to a hidden structure.
How to DIY coat rack?
In this video of LJDECOR, we make the coat rack easy and cheap!!
Pieces measuring of diy coat rack
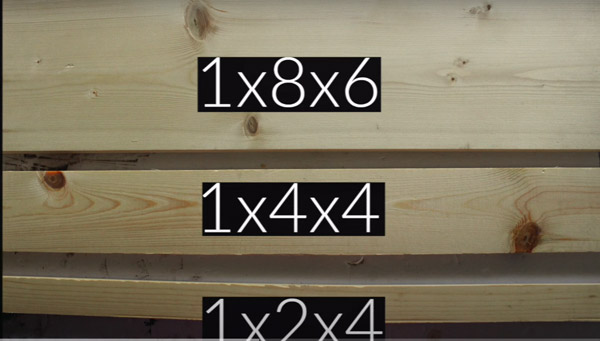
- First for diy coat rack, we want to start by measuring and marking all the pieces that we have. we have a 1 by 2 part, and It should be 40 inches long, so we cut it to where we want it.
- put your mark, and do your straight line. Do the same thing on all other pieces. You must cut it the same length, and now you need to put them how you’re going to want them. If you have imperfections in your wood, flip that piece around.
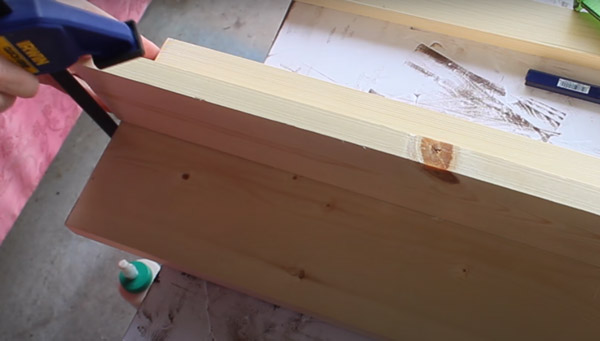
- We eyeball it first. Then we make our measurements. We just put some wood glue on it, gluing it down, and then we use wood clamps to make sure that it stays in place, so make sure you go in and wipe off the excess.
Mark diy coat rack every five inches
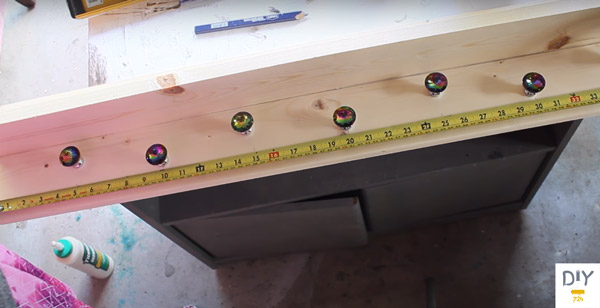
- We make sure that our shelf is straight with a level, so we know this is 40 inches, and we mark it every five inches because that’s where we want the hooks to go. So we will start it here 5, 10, 15, 20, 25, 30, 35.
- Then we must decide to put the hooks all straight or kind of stagger around for diy coat rack.
- We use a 964 drill bit, and we are going all the way through the wood where we put our marks that are going to be for the knobs.
- We measure and mark where we put our shelf on the other side to take the drill and drill through that, and then we can put the screws in to ensure that the frame is extra secure.
- Not only did we glue it, but we are putting screws into it, so now the shelves are done.
- It’s time to add the little one by two to make this shelf into a photo ledge, so you want to take your type on wood glue and glue it down, and then use your wood clamps to make sure you get that secure and, of course, wipe off your excess wood glue.
Paint the coat rack
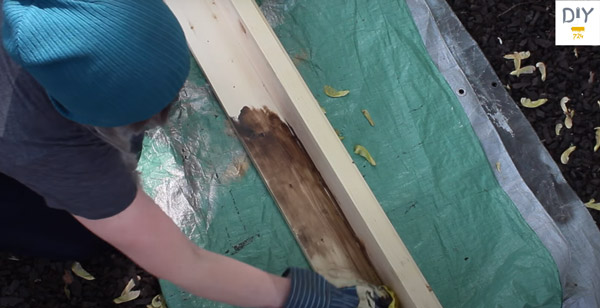
We bought some paint, and after we tried it out on some spare wood, it was just too orange; we mixed the dark color with this lighter paint, and it looked so good that we went ahead and stained the coat rack entirely with that.
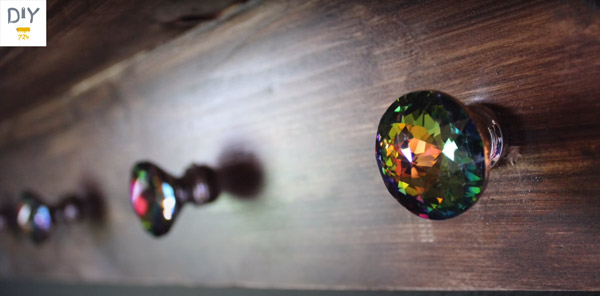
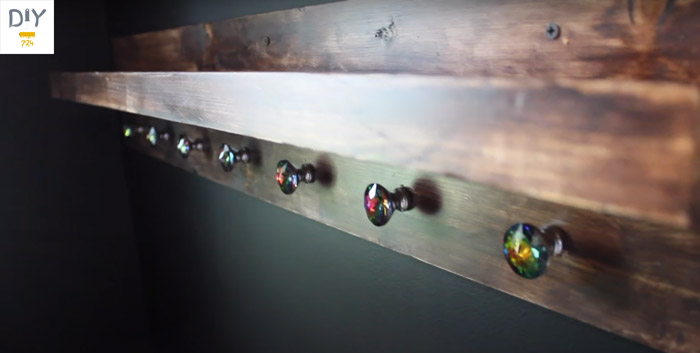
The crystal knobs of diy coat rack
The crystal knobs they’re just so pretty, so we are going in where we drilled the holes for the knobs, and we are putting in the screws that came with them go in from the back and hand tighten them; it’s imperative to tighten them because you don’t want to split the wood.
Screw your knobs on, and then you can tighten them with your screwdriver and then with your hand on the opposite side. We hung ours up on the wall with some drywall anchors.
Different models of diy wall hangers
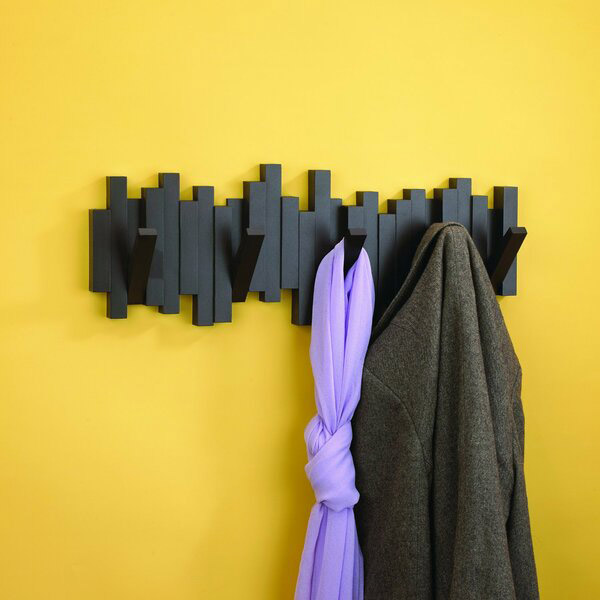
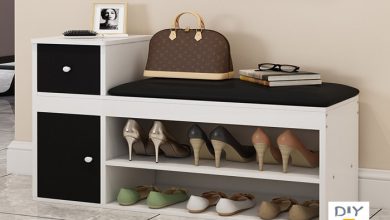
Hangers are usually placed at the entrance or hallway of the house so that when you enter the house, you can put your belongings on it. Some hangers are visible and have no place to hide. Most hangers are designed in this style. It is better not to forget the clothes hanger when using the hanger model.
In such models, the items placed on the hanger are essential, and in fact, these are the ones that shape the home decoration.
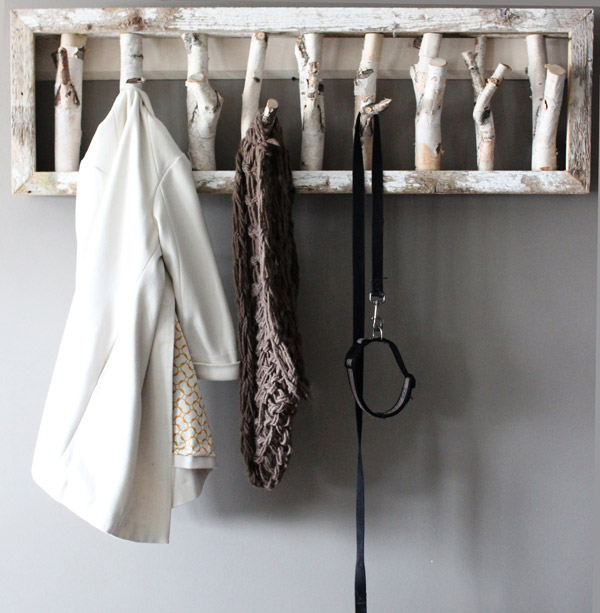
Currently, a combination of diy rustic coat rack is widely used. That is, a set of decorations is placed inside the hanger. In addition, the hanger itself is also mentioned as a part of the corridor decoration.
The model of the diy coat rack is unique, and at the same time, it can beautifully organize your home and, it helps you with creative ideas in great decoration.
