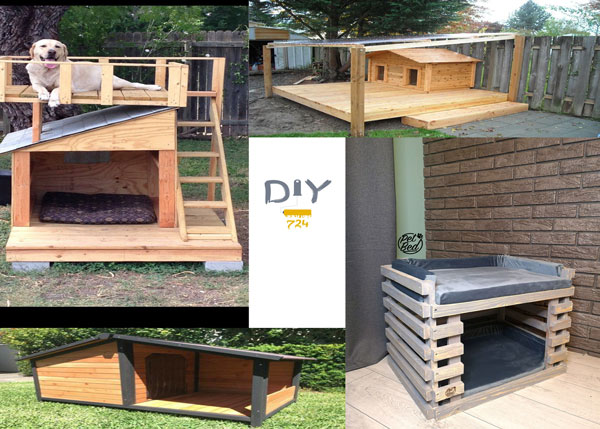
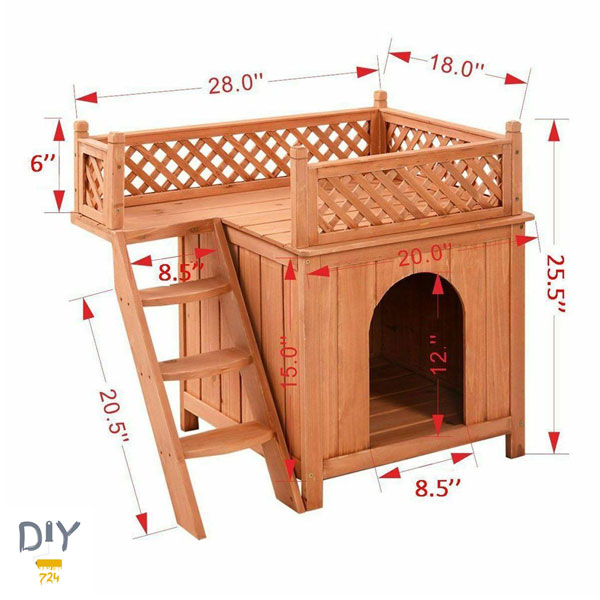
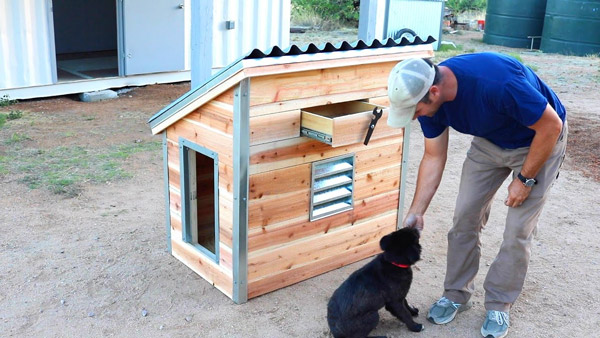
In this article of DIY724, We will show you how to diy dog house for an outside pit. we decided to make a large raised doghouse to help keep dogs dry and warm in the winter.
How to do dog house plans (cheapest way to build a dog house)
We first started this project by taking part in an old wooden crate that we had. We took several pieces of lumber to our table saw and ripped them down to two and a half inches. This job will allow us to construct the legs and frame into a lightweight but sturdy structure.
Once we had all the necessary pieces of wood, we trimmed them down to length on the miter saw; now, for each leg, we will be using two pieces of wood in an L shape. We had to trim the tops of all the legs with a 10-degree angle. Four of these pieces needed a standard angle cut, and for them required a beveled amount. Fortunately, this was efficiently completed with a miter saw.
For diy dog house we’ve been matched up all to the legs making sure the appropriate angles at the tops were in alignment with each other. we then glued and screwed all of them in place.
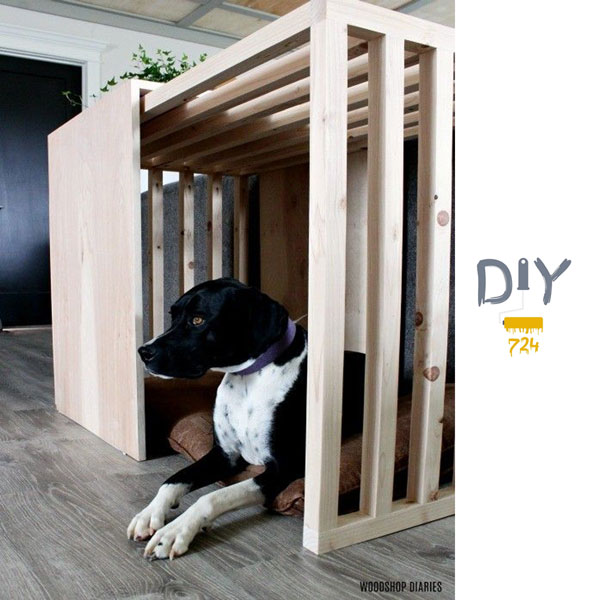
Instruction for designing this doghouse (diy dog house)
In this video of Specific Love Creations, we learn you how to Build a Large Dog House DIY.
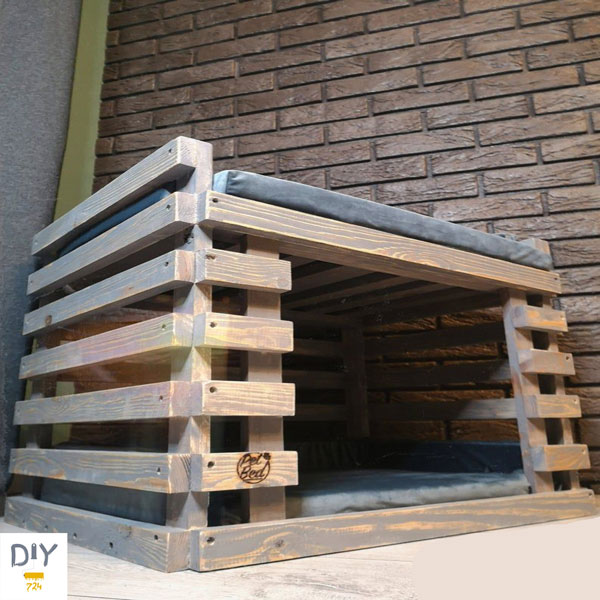
Diy dog house : base of the dog house ( pallet dog house )
For diy dog house we wanted the base to be about two inches off the ground, allowing for any flowing water to pass under or around but not find its way inside, so we used a speed square to line up the base and clamped it in place.
This job allowed us to drill holes from the outside and secure each of the pieces with screws. Now for the top of the frame, each piece needed to be cut with an angle for the front and back supports. We had to rip them down on the table saw at a 10-degree angle for the back legs.
The top sport had to be angled inward, but the angle had to be facing outward; we then screwed them to the top of each leg, making sure everything lined up at this point. We had to move all the pieces to the floor for more room, we then attached the two remaining base frame support to each side, and this structure finally started to look like a doghouse.
Next, we measured the appropriate distance for three more floor joists to help support the plywood we plan on using for the floor. To the top of the frame, we had to add two more joining supports which also had to have a 10 degree cut on each side for the appropriate pitch of the roof.
We also added a secondary piece that will help box off the outside frame of the house and will provide a small lip. We then added an outside frame to the front back and sides of the doghouse, which should help align the floor and walls in place. When installing them, it will also make the outside appearance of the doghouse much nicer.
The dog could throw at the house, but to keep it from moving around and possibly coming loose in the future, we added just a few screws for support.
Diy dog house : Outside frame
It was now time to add outside frame pieces to the front and back, which meant we had to take it to the table again saw for some angle cuts. We clamped them and screwed them securely in place now to build the walls; we use some thin cheap plywood that we’ve purchased in four by eight sheets.
We first started with the rear wall because it was a simple rectangle and let us see how to square the entire structure was built. Then light in a place with a small shim underneath to lift it off the floor in case any water or residue existed in the future.
We used a carpenter’s square, a bucket lid, and our jigsaw to help cut out the structure. We secured it in place in the front of the house. Now the side walls had to have an angle cut on the top to fit, and this was quickly done by measuring out each corner and clamping a guide board in place
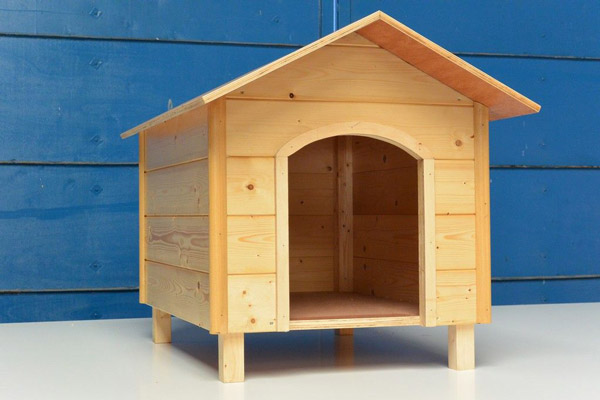
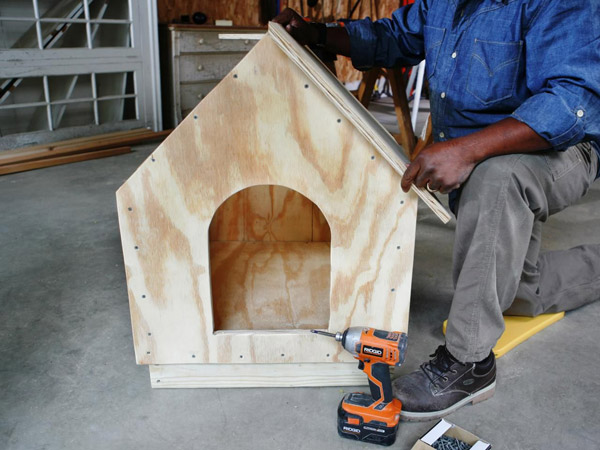
Diy dog house : The doghouse roof
we trimmed out another piece of plywood that was the same width but a little longer. On the front and back, and since the plywood was thin, we needed a little internal support for strength, so we added four pieces of wood to the underside, making it much more rigid. For diy dog house we positioned a roof in place and added a couple of hinges on the backside to lift it with ease in case of cleaning.
Simple diy dog house
cheapest way to build a dog house
Now plan on using this doghouse under our back porch; we are not too concerned about it getting wet. Dogs love to go in and out quickly, and so overall, we’re happy with this doghouse, and we hope it’ll last a very long time. we hope you learn how to diy dog house and enjoy it.